WiFi Piano
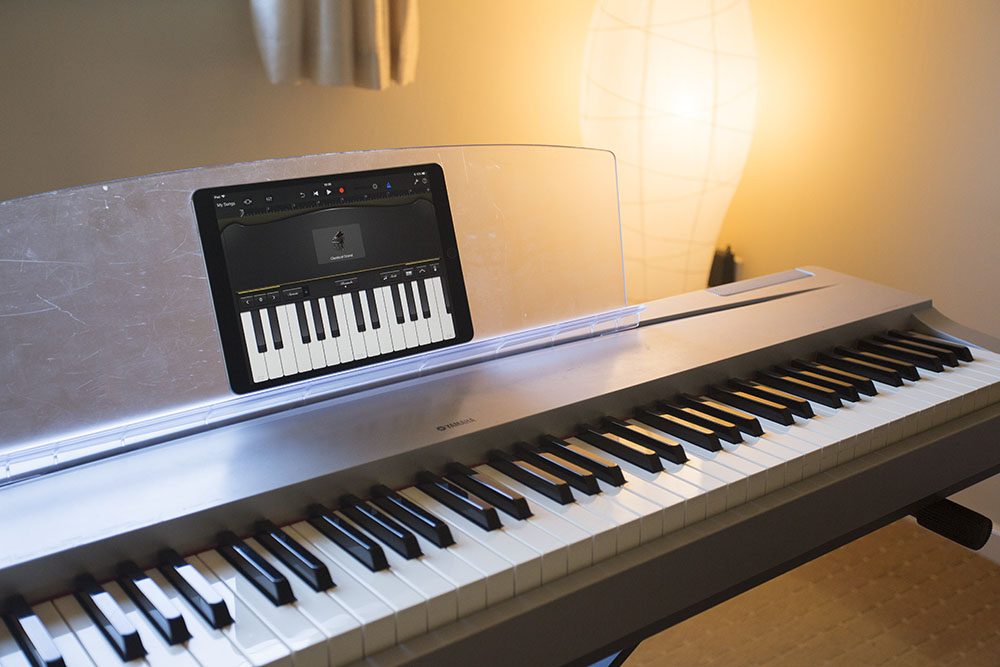
I use my keyboard (the piano kind) with my computer just as much as my other keyboard (the qwerty kind). Aside from the obvious use for performance/recording, I find it invaluable when composing, creating levels for Tapt, or pretty much any task that requires inputting musical notes. When using notation software, the alternatives are generally some combination of arcane keyboard shortcuts and clumsy pointing and clicking (which, being pretty fluent at expressing ideas on a piano, feels almost like using an on-screen keyboard with a mouse). So, it'll be no surprise that I keep my digital piano plugged into my laptop all the time via a USB-MIDI adapter. There are a few problems with this, though, which I was eager to improve upon.
The Problems
- I keep my piano plugged into a USB port on a Thunderbolt dock. This works great when I'm just at my desk, but I can't bring my laptop over to the piano, at least not without a lot of plugging and unplugging of cables. Even then, it's pretty restrictive having to be tethered to the piano with a giant dongle.
- I love iPads, and really want to use them for more of the things I do. There's some really great music software emerging for them and I've been enjoying experimenting with it. The issue is that connecting my piano to my iPad shares all the problems described above, and requires another, even bigger dongle.
The Solution
After some experimenting, with the aid of a Raspberry Pi Zero W and software called Raveloxmidi, I've managed to solve these problems pretty much completely. In short, I 'embedded' the Pi in my piano, and Ravelox makes it available to all devices on my network. It shares the piano's power supply, so they turn on at the same time. I can connect it to MacBook Pro or iPad seamlessly and use it with any software that supports MIDI input, even on the iPad. All that's required is the built-in Audio MIDI Setup app on macOS, or an app I'm using called NetMIDI on iOS; just connect to the Pi and it's as if the piano is connected physically.
Having something of an interest in the topic, I was worried that this setup would introduce unacceptable amounts of latency to the system. Happily, this wasn't the case; I didn't perceive any difference in latency compared to a wired connection. I imagine this is made possible by using UDP, and the tiny amounts of data that constitute MIDI values.
All in all it's solved the issues wonderfully. It's very handy having the piano available on my laptop whether it's docked or not, and I've been having lots of fun being able to connect my iPad and iPhone to it. I'm looking forward to experimenting further with those especially. If you're interested in more details on the hardware side of it, do read on.
The Hardware
The build itself was pretty straightforward. I wanted the whole thing to be as self-contained as possible, and ideally not to make any destructive/irreversable changes to the piano.
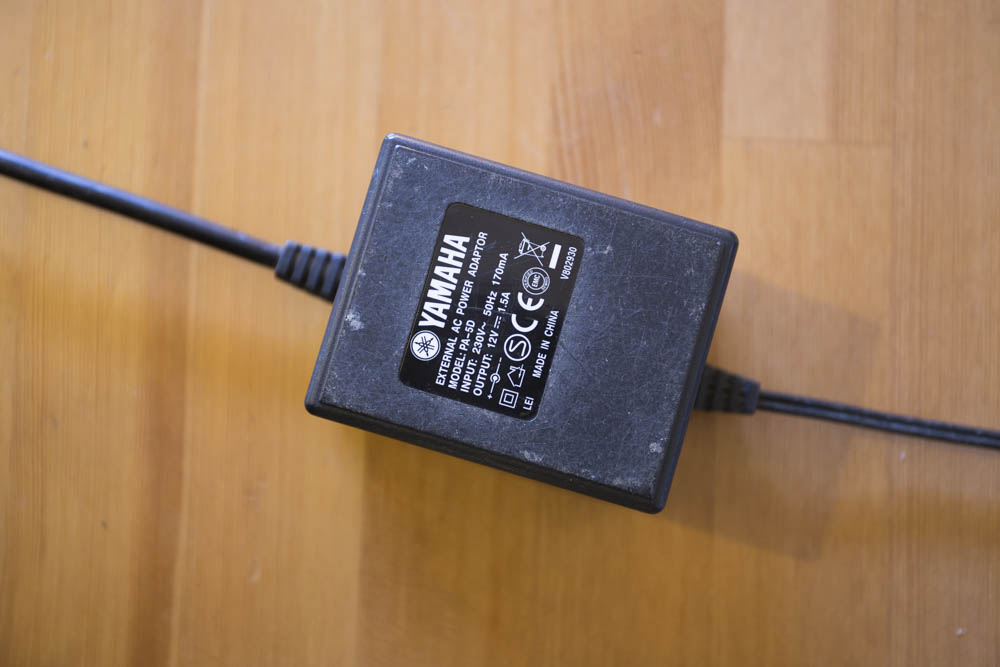
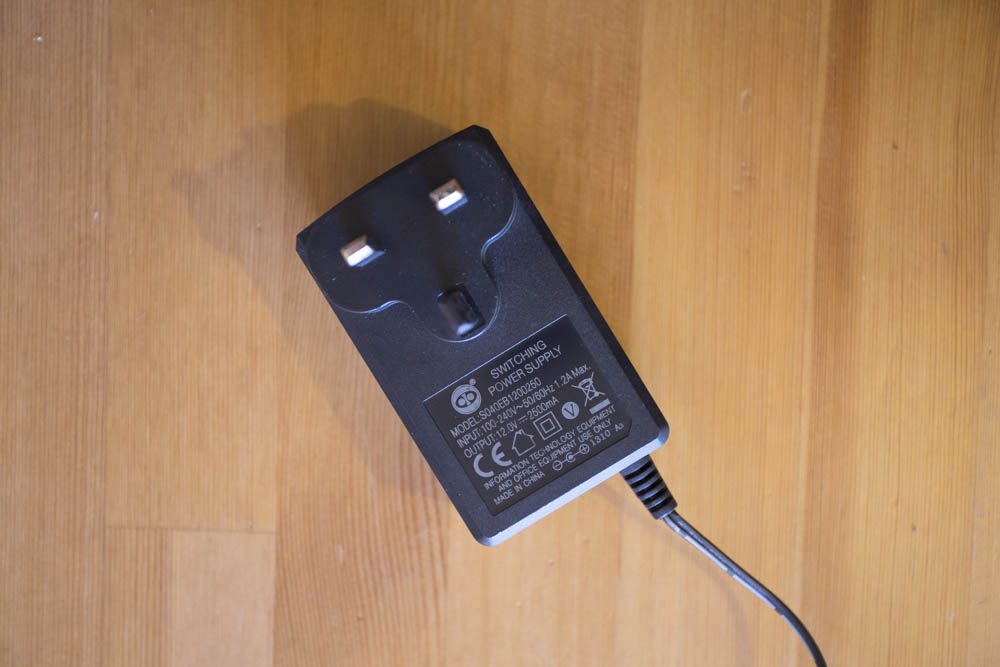
The piano had been using an ancient, transformer-based 12-volt power supply. It was always an irritation; it got hot even when the piano wasn't turned on, and its huge power brick was located halfway along the cable, so it was always unwieldy. Since I was going to be changing things up anyway, I took the opportunity to swap it out for a modern, much more efficient power brick. The replacement can deliver more power than the old one, too, which might be good since it'll be powering a Raspberry Pi in addition to the keyboard.
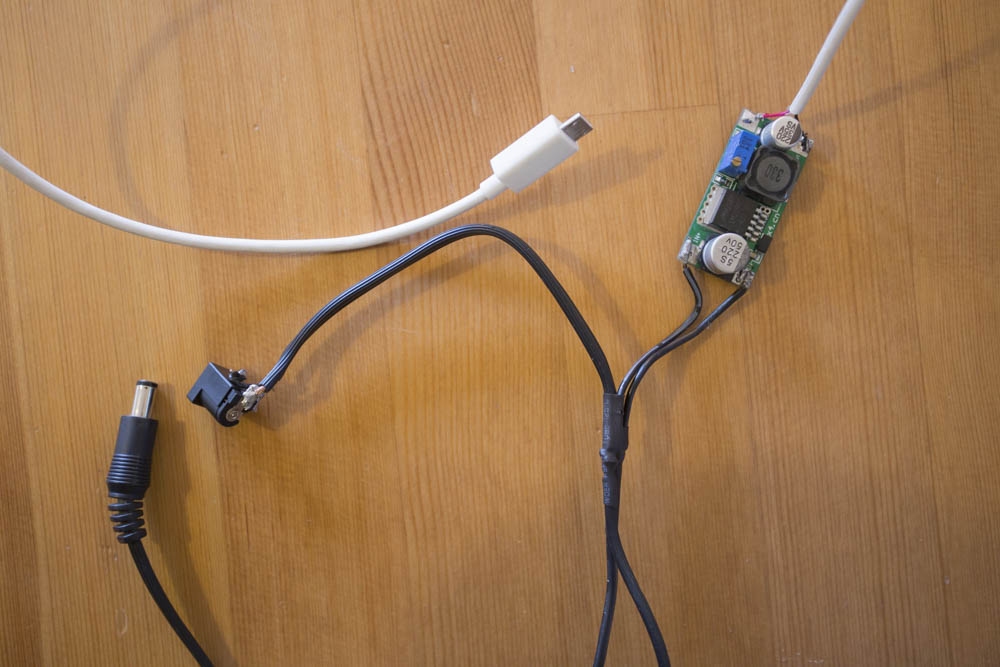
I put together a cable which intercepts the power supply; it passes 12V to the piano as normal, while also containing a switching regulator that taps off 5V for the Pi.
Pleasingly, while the old power supply consumed 2 watts with the piano turned off, the new one only uses 1.5 watts even with the added Pi.
Data
This part was easy. Using a USB OTG cable, I connected the USB MIDI interface to the Pi. It just worked, no drivers needed.
Presentation
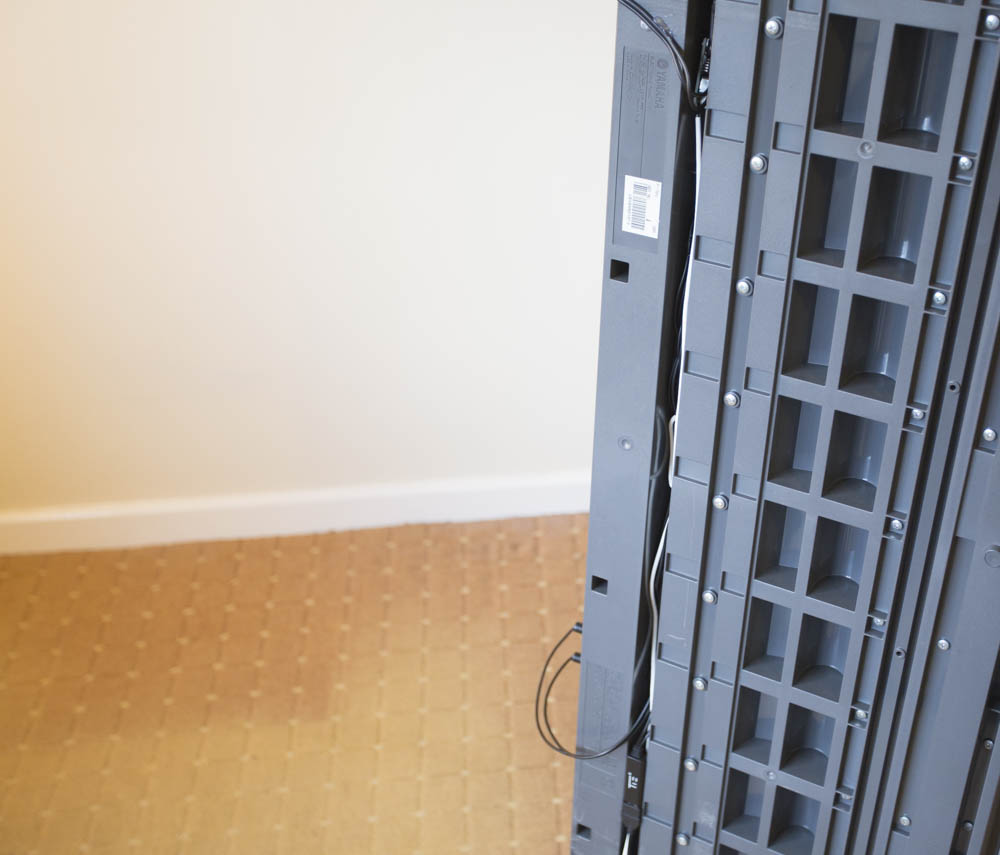
As I said above, I wanted this whole setup to be unobtrusive. I didn't want any wires or bodges on show if avoidable. Very handily, there was an empty channel running along the underside of the piano that I was able to fit the Pi, voltage regulator, USB MIDI interface and all the cables into. It was simply a matter of hot-gluing the new power socket in place, plugging the required cables into the back of the piano, then stashing everything into the channel underneath. I didn't bother adding a switch for the Pi; it suits for it to be powered on all the time the piano is plugged in anyway.
And that's that. I'm very pleased with the results, and especially excited to have a frictionless way of trying out more iOS music-making.
Update: I've since made a new version of this using an Arduino.